How to Tie a Bow Like a Pro

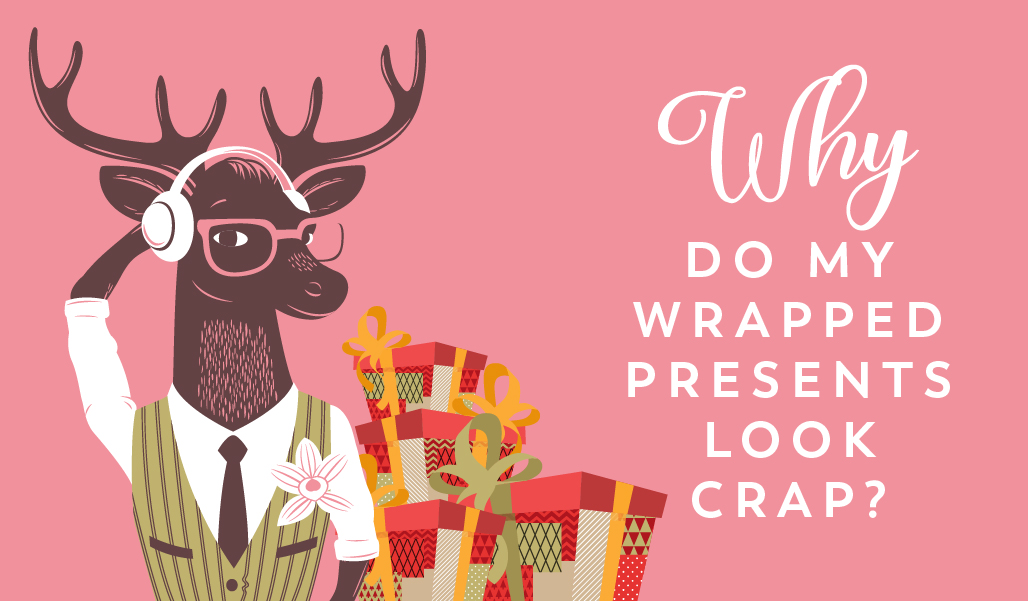
To us, putting a bow on something (whatever it happens to be) is a sure way of telling the world you’re doing well in life. Fancy gift? Put a bow on it. Going out for dinner? Put a bow tie on. Feeling pretty? Put a bow on it. Someone annoying you? Get your crossbow out.

So whether you want to impress a loved one or impress yourself, it’s time to be educated in the art of BOWING…

Humphry’s difficulty rating:
  • BOWginner: an infant could do this with their eyes closed
  • BOWbasic: any basic b!tch can do this
  • BOWderline Impossible: if you can do this, you should be working for NASA!

BOWGINNER BOW

Difficulty rating: BOWginner!

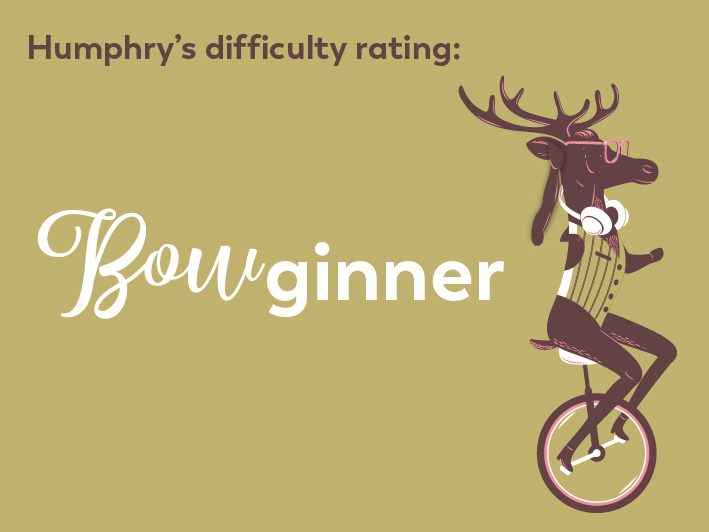
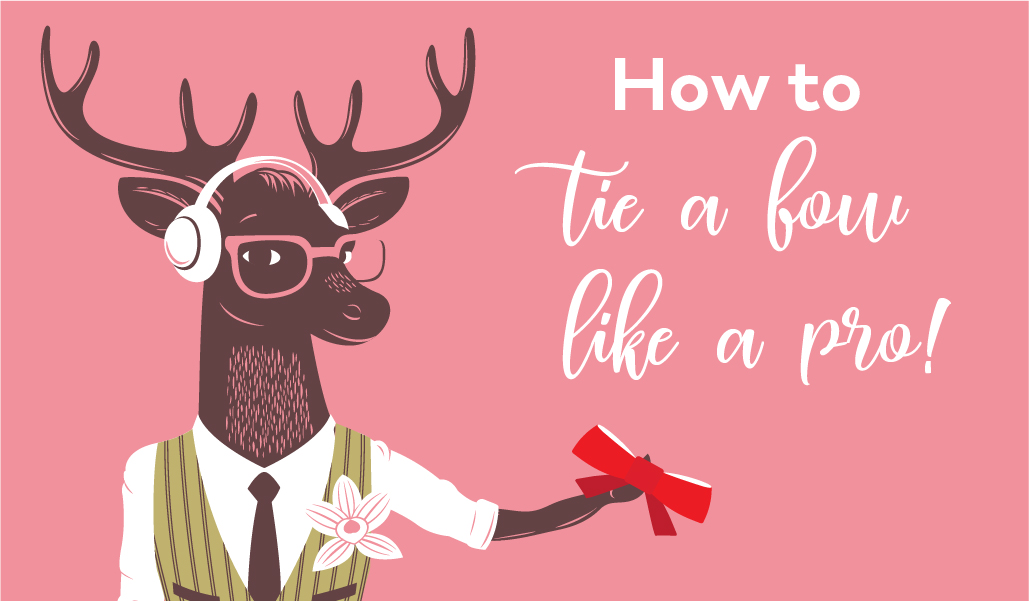
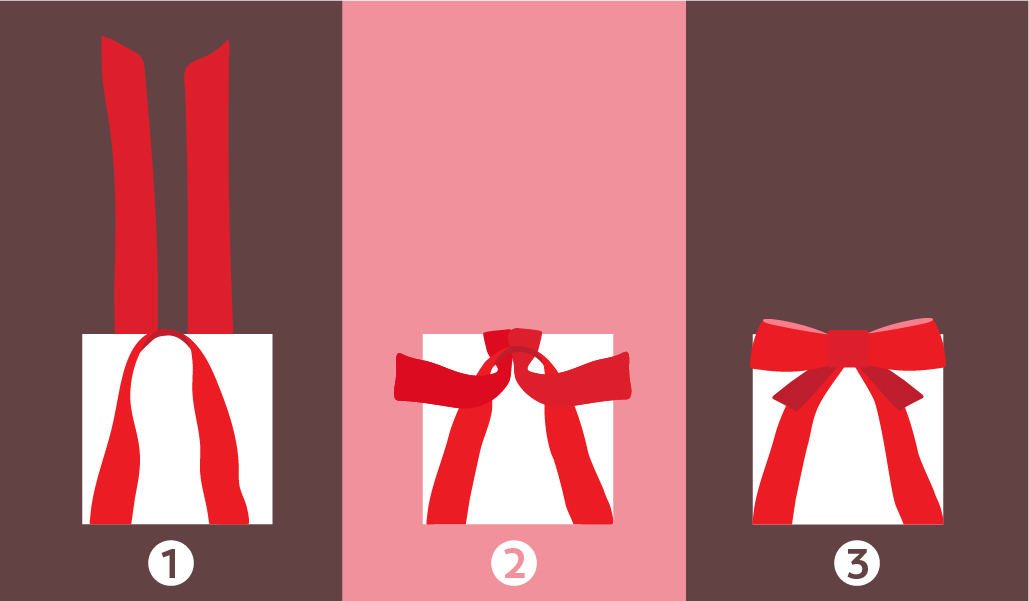
Sometimes you can’t beat a classic bow (and sometimes you just can’t be bothered to do anything more complicated). This easy to achieve bow can sit proudly on the top of any gift box or tie together a beautiful gift bag! Simples.

  1. Fold the ribbon length back and forth forming two loops at the top and one loop in the bottom centre
  2. Cross the top right loop over the top left loop
  3. Now fold the left loop down behind the right loop and then through the bottom loop
  4. Pull the top loops tight, forming a knot in the centre of the bow. Snip the tails on a diagonal and you’re done!

PYRAMID BOW

Difficulty rating: BOWbasic!

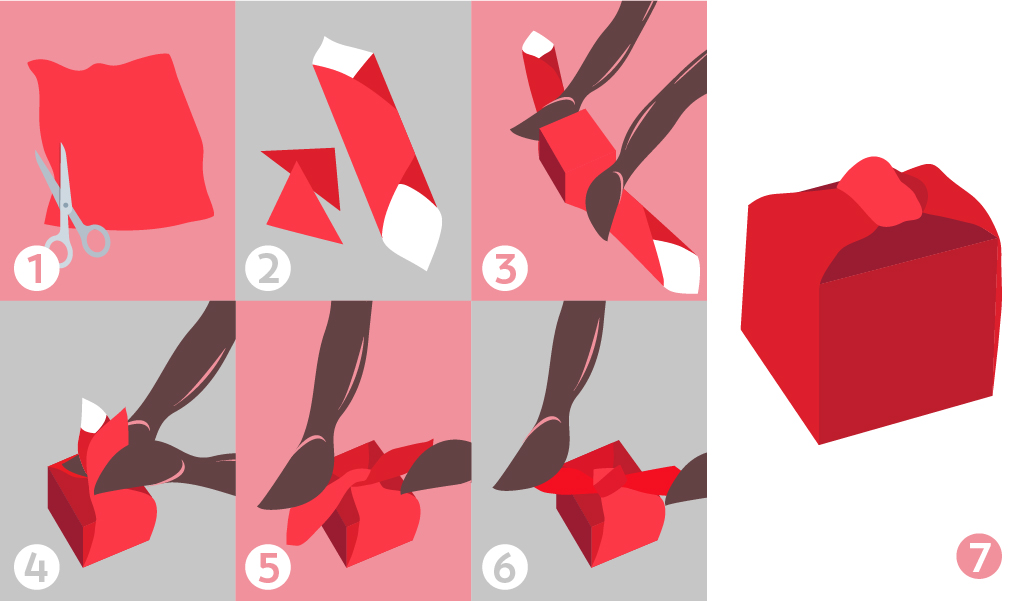
Feel like your bow still requires a little more jazzing up? This bow is a little fiddly, but if you nail it well your friends and family will likely go “oohh that looks fancy”. A truly pretentious pyramid bow that’s perfect for any size gift box.

  1. Fold the ribbon in half and place on surface with the fold at the bottom. Place your box on top of the ribbon and pull the folded end up to the top of the box
  2. Thread the two remaining ends of the ribbon through the loop of the folded end. Centre the loop at the top of the box and slide the bottom pieces of ribbon to each corner to create a triangular shape
  3. Pull the ribbon tight, and tie the two ribbon ends into a bow. Snip the ends on a diagonal and you’re done!

HAVEN’T GOT TIME TO BUY RIBBON BOW

Difficulty rating: BOWderline Impossible!

This little gem combines wrapping and a bow all in one. You don’t even have to worry about gluing it down, just wrap it up and ta-dah! You can practically use any material for this…

  1. Measure and cut a square from your chosen fabric (try and avoid anything too thick!)
  2. Place the fabric down facing with your box on top. Pull the opposite corners of the fabric around the box, leaving just enough material to meet at the top of the box
  3. Fold the fabric over the sides of the box as you would wrap a gift with paper
  4. Pull the corners tightly
  5. Cross the tails around each other and tie together
  6. Tuck each tail under the knot once more and pull taut
  7. For a cleaner look, gently conceal the unfinished ends under the gathered fabric

So, get practising on your bows and adding those finishing touches to your gift. And if you’re not ready to stop there, why not add your beautifully wrapped gift to a personalised Vanilla Reindeer bag? Make the right impression with your in-laws, best buds or colleagues and personalise your own gift bag, box or card with your favourite pic and a message that will get them giggling.

That’s the presents done…now to work on yourself!

BRO BOW

Difficulty rating: BOWginner!

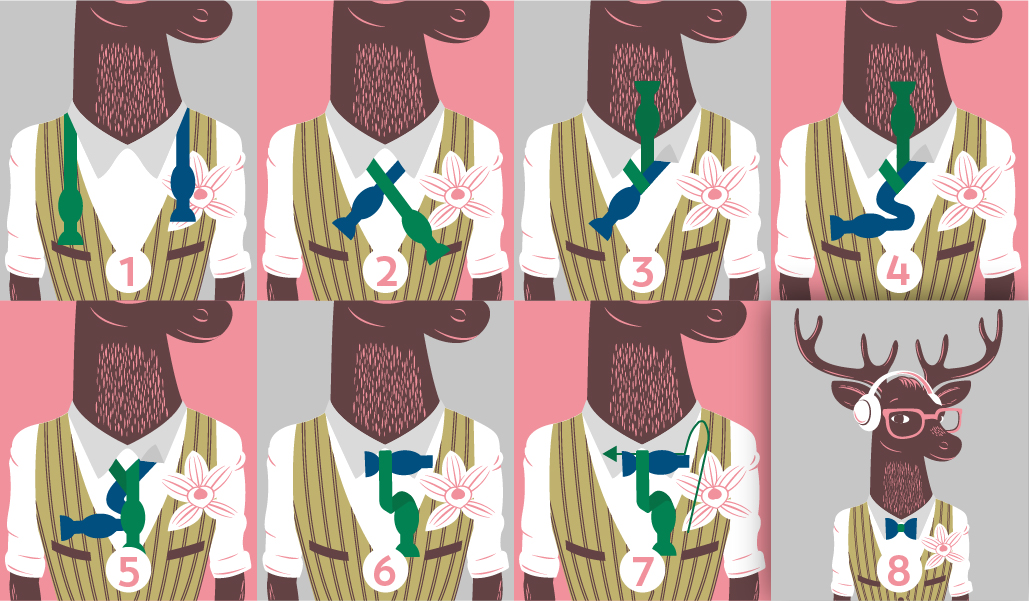
Making yourself presentable at any fancy shindig is a must, but going that extra mile is bound to get heads turning, so why not turn heads with a bow tie.

  1. To start, one end of the bow tie should be about an inch longer than the other
  2. Cross the long end over the short end
  3. Tie the long end around the short, pulling the long end up toward your collar
  4. The short end will be used to create the bow
  5. Take the long end again and pull it over the short end. This will create what will be the centre of your bow tie
  6. With the bow formed and held in place, fold the long end to form another bow
  7. Take the loop formed by the long end and push it behind the short end, forming the centre knot
  8. To adjust, pull the looped ends of the bow

WHO HAS TIME FOR THIS HAIR BOW

Difficulty rating: BOWderline Impossible

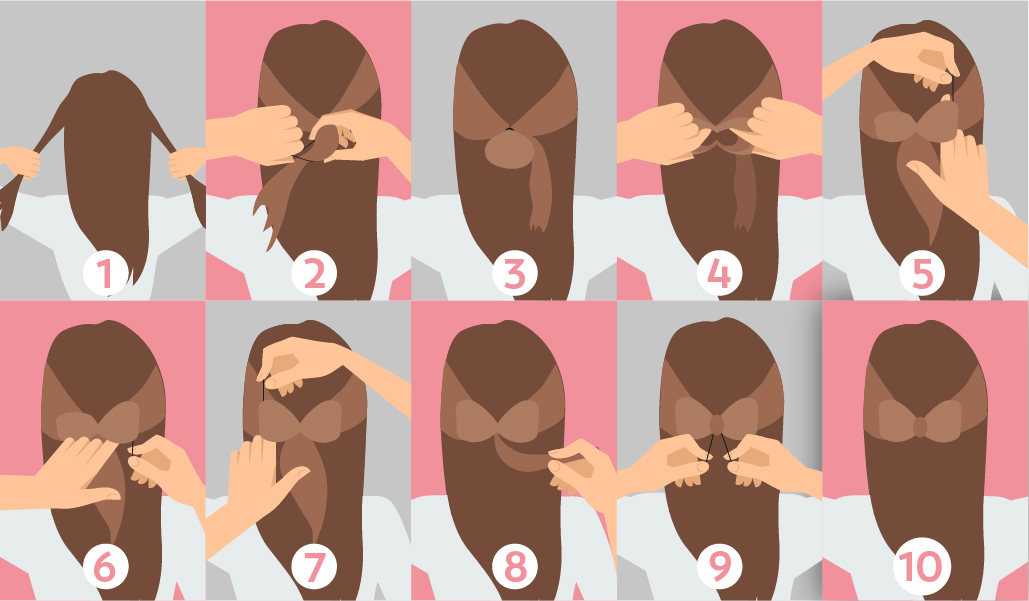
We don’t have time for this, but if we did, then we’d probably be doing it every day. A bow made from your hair will make an outfit pop, and if you pop, the whole night pops!

  1. Begin by taking one small section of hair from each side of your head. The bigger the sections, the bigger the bow
  2. Tie the two sections together with an elastic band to create a half ponytail
  3. Don’t pull the ends through the elastic the last time you wrap it to create a loop like the picture
  4. Split the loop in half to create two smaller loops and clip one loop aside for later
  5. Use your fingers to spread out the loop and create a bow shape
  6. Insert a grip to secure
  7. Repeat on the opposite side to finish the bow shape
  8. Pick up the remaining ends of the ponytail and wrap them up and around the elastic to hide it
  9. Secure with grips
  10. TA-DAH!

And when all else fails, go to the shop, and buy yourself a stick-on bow, clip-on bow tie, or hair piece, because let’s face it… life is too short to lose patience over ribbon!

Resources:

Comments (0)
Leave your comment
:
No comments have been added yet